
How to Capture Your Client’s Dream Portraits
Portrait photography is a powerful art form that focuses on capturing the essence of an individual or group. Through composition, backdrops, lighting techniques, and even facial expressions, portrait photography tells a unique story about its subject.
As a portrait photographer, you are entrusted with the responsibility of capturing your clients in a way that reflects their authentic selves—a task requiring both technical skill and sensitivity. Your work has the power to help someone capture a special memory, shape a new brand identity, or see themselves in a different light.
Step 1: Understanding Your Client’s Vision
The first and most important step in portrait photography is to understand your client’s needs and the story they want to tell. Start with a consultation call to discuss the photoshoot. Ask about their preferences for lighting, background, and wardrobe. Consider asking questions like:
What type of portraits are you looking for? (e.g., professional headshots, personal branding, family, creative/editorial)
Do you have a specific vision or theme in mind?
Do you have a preferred location, or would you like recommendations?
How do you want these photos to make you feel or be perceived? (e.g., confident, natural, powerful, soft, artistic, etc.)
Do you have any concerns about being in front of the camera that I can help with?
If they haven’t done so already, you can encourage your client to create a Pinterest board or mood board with inspiration for their shoot. This helps them visualize their ideas and communicate their vision more clearly. Once they’ve created their board, ask specific questions to understand what elements stand out to them—whether it's the lighting, backdrop, poses, wardrobe, or overall mood. This insight will help you tailor the session to their preferences.
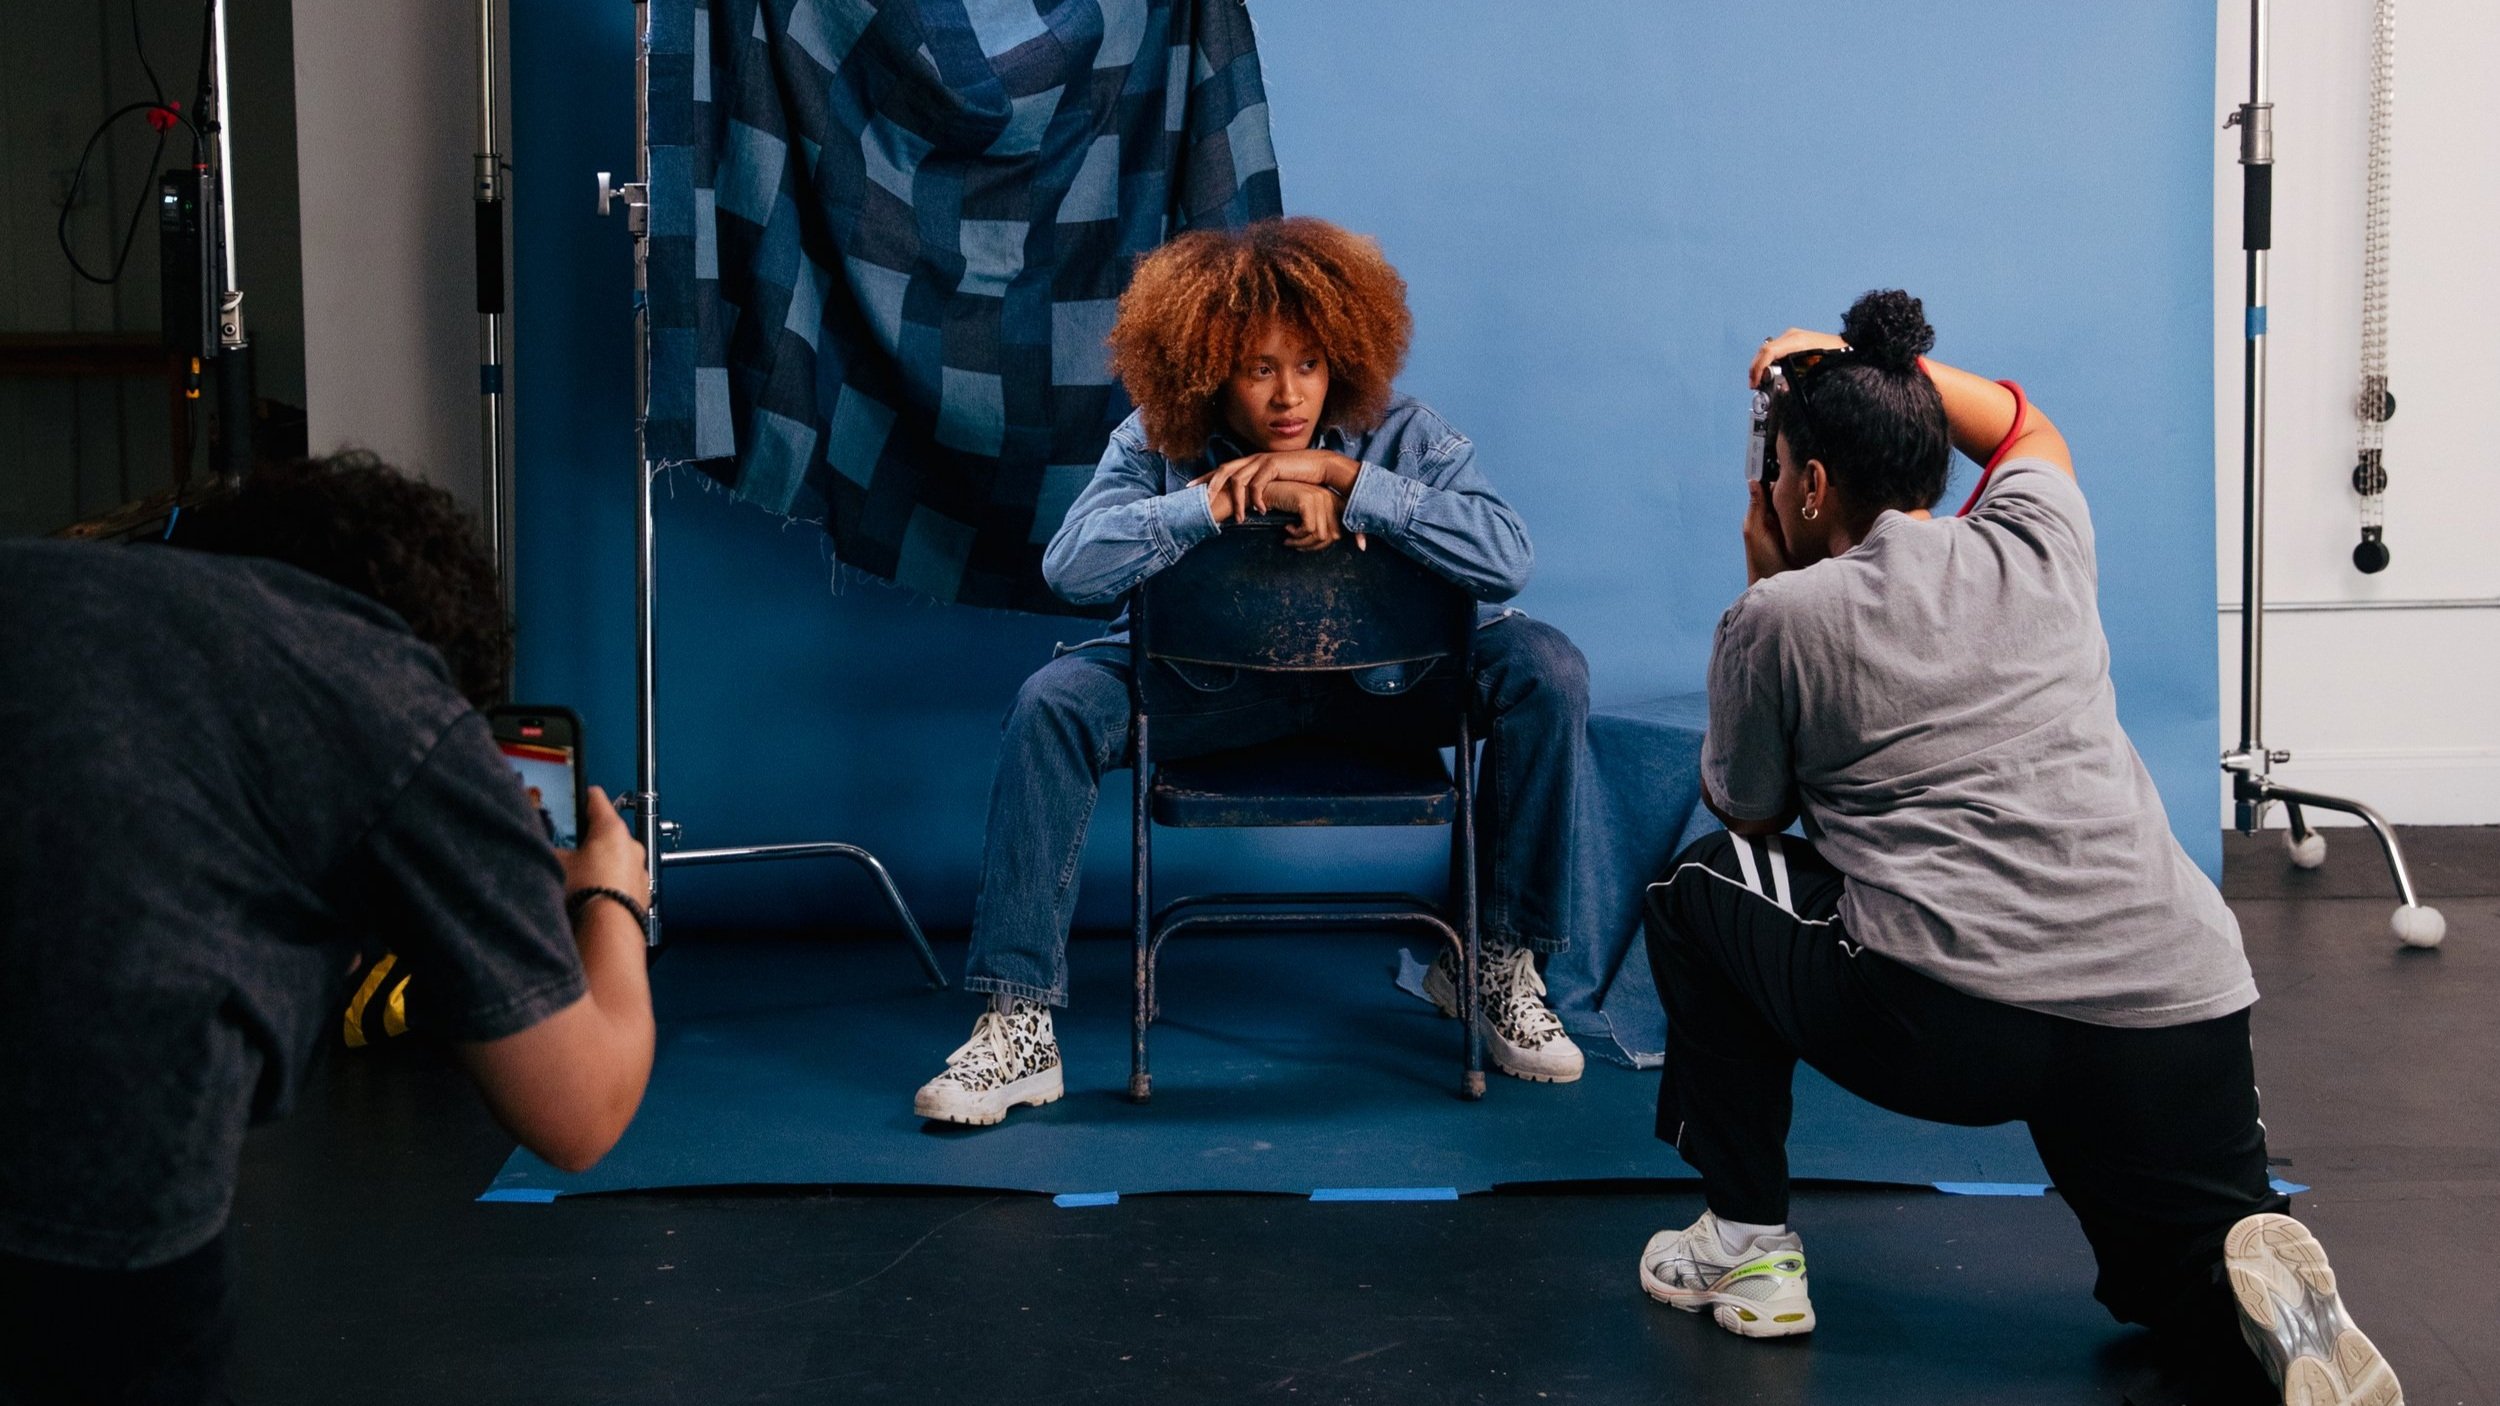
Step 2: Choosing the Right Studio or Location
Selecting the right photography studio rental or outdoor location is key to achieving the client’s desired look. Knowing the “why” helps determine the “where.”
For corporate headshots, look for a natural light photography studio with clean, professional backdrops.
If your client is a brand or influencer, book a studio with both natural light and lighting equipment to enhance their visual identity and provide them with diverse deliverables.
For artistic or moody portraits, consider a studio with a variety of backdrops, props, and lighting.
It’s important to ensure the studio/location has the right space, props, and amenities to support the shoot. When searching for a space, use SEO-friendly terms like “best photography studio rental in Tampa,” “affordable portrait photography studio,” or “natural light studio near me” to find the perfect location for your client.

Step 3: Planning Your Shoot
Once you’ve finalized the location, it’s time to create a solid plan for the shoot. Preparation is key to ensuring a smooth session and delivering your client’s dream images. Here’s how to set yourself up for success:
Decide on the Lighting Setup – Determine whether you’ll use natural light, studio strobes, or continuous lighting based on your client’s preference or needs. If working with natural light, consider the time of day and how light enters the studio. If using artificial lighting, plan for key light placement, fill light, and any modifiers like softboxes or reflectors.
Create a Shot List – Outline the must-have shots based on your client’s needs. For example, a headshot session might require close-up, mid-length, and full-body shots, while a branding shoot might need a mix of portrait and lifestyle images.
Plan the Composition – Think about framing, angles, and background choices. Will you use negative space, center framing, or creative crops? Planning these details in advance will help you work efficiently during the session.
Consider Posing and Expression – Guide your subject with poses that match the intended mood. Reference their mood board and provide gentle direction to achieve natural, flattering looks.
Many free online tools can help you plan and visualize your shoot. The best ones let you use both images and text to keep track of the important details. (We love and recommend Milanote!)
Step 4: Making Your Client Feel Comfortable
To capture natural, authentic, and confident expressions, your client must feel at ease with you and in front of the camera. Remember that as the photographer, you set the tone for the vibes on set. Here’s how to create a comfortable shooting environment:
Set expectations: Walk them through what to expect before, during, and after the shoot.
B.Y.O.P.: Encourage your client to bring their own playlist of their favorite songs to set the right vibes for their shoot.
Show previews: Giving them a sneak peek of the shots during the shoot helps build confidence and refine the important details (like poses, lighting, and wardrobe) as you go.
Offer words of encouragement: Let your client know that their vision is coming to life, that they’re nailing the poses, and that you’re loving how the images are turning out.

The Power of Portrait Photography
Ultimately, the key to achieving the perfect portrait lies not only in technical skill but also in your ability to connect with people. As a portrait photographer, your role is to craft a visual story—whether it’s for personal branding, professional headshots, or creative editorial shoots. A well-executed portrait is more than just an image; it’s a representation of someone’s essence.
By deeply understanding your client’s vision and making them feel at ease, you create portraits that resonate beyond the shoot day. Whether you're working with professionals, influencers, or families, a well-planned and thoughtfully executed portrait session is the way to achieve the kind of images your clients want.
If you’re searching for a professional photo studio rental to bring your portrait photography to life, start by exploring top-rated studios in your city (like WTR Cooler Studio) and booking a space that aligns with your creative needs.